Handlebar Harness + Carbon Fiber Mount Bar and Clamps
WEIGHT: 8 oz | 224 gm
Fits 31.6 and Smaller Handlebars
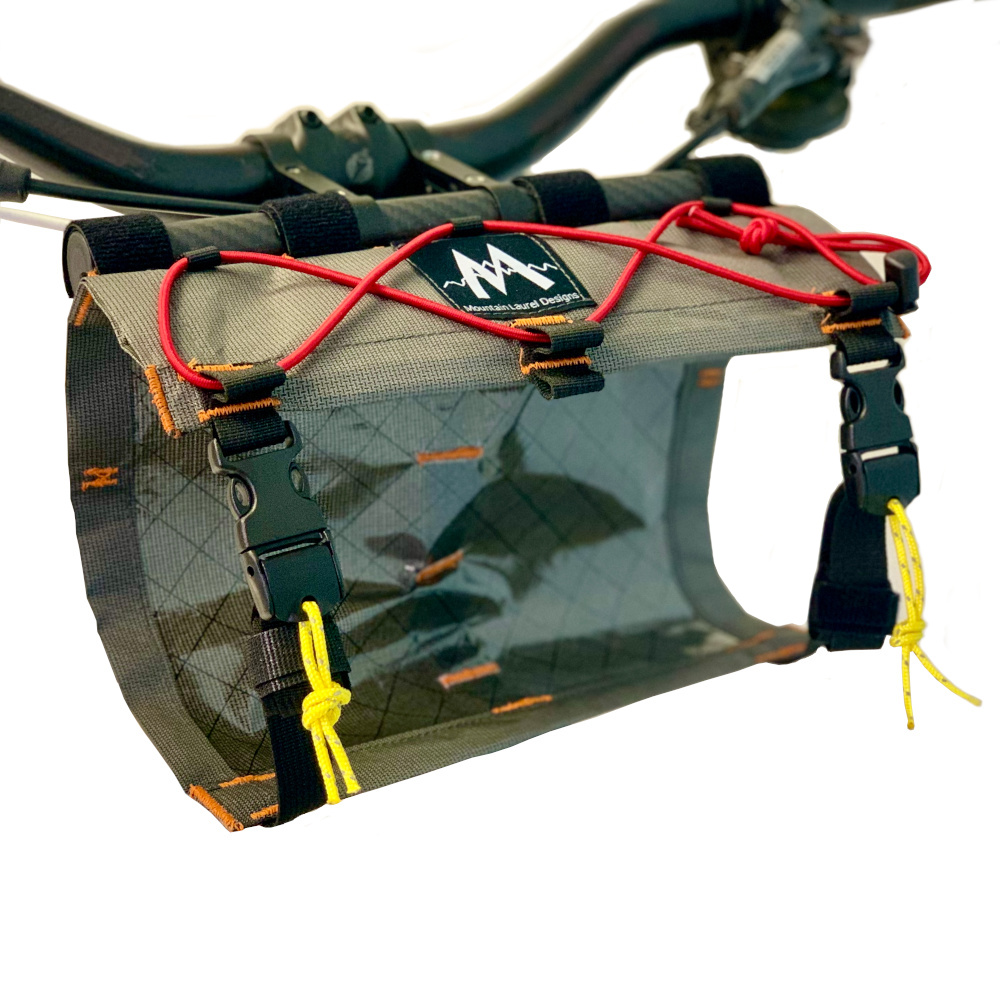
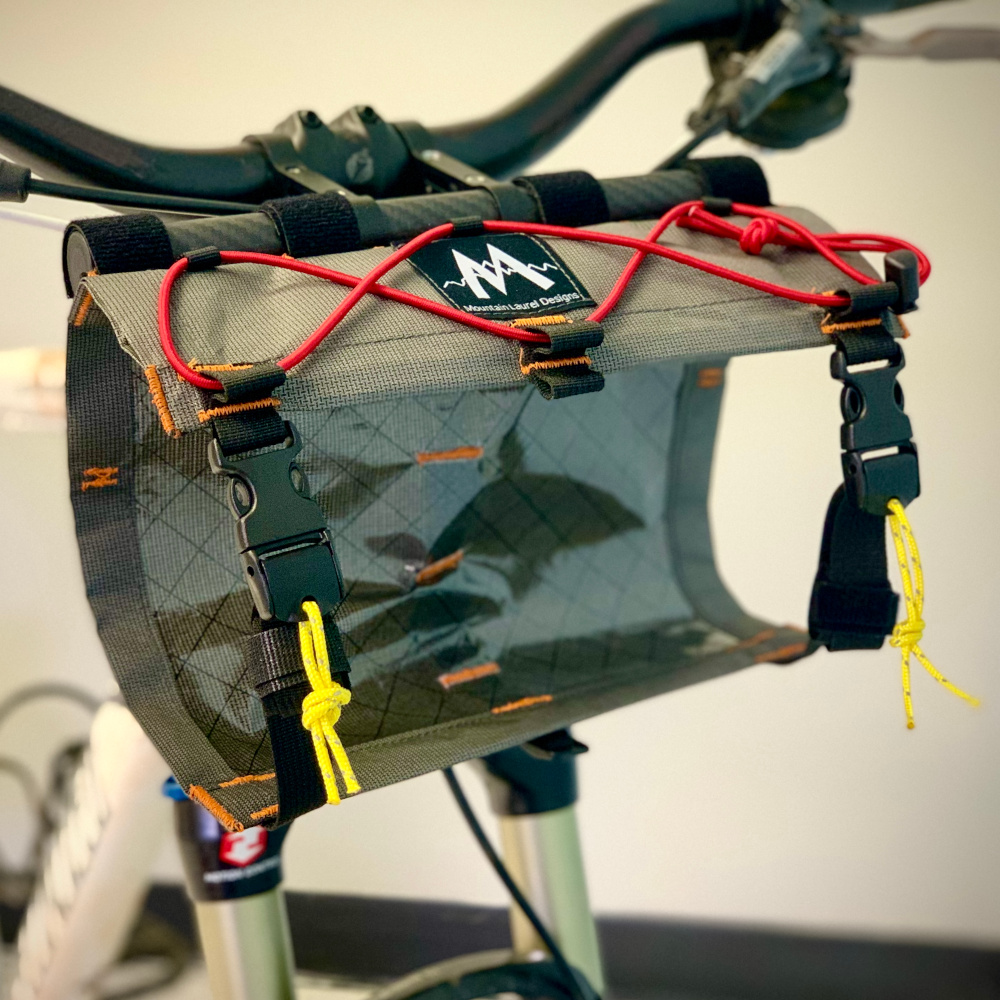
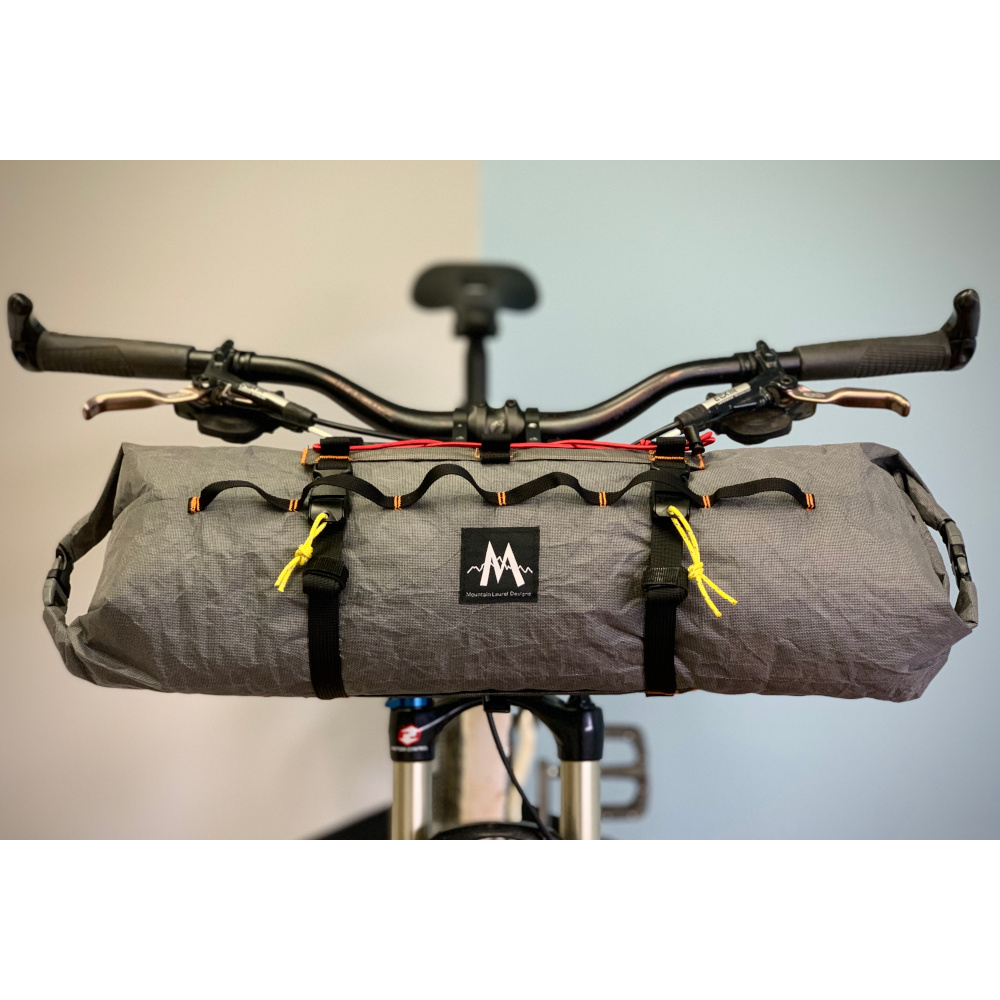
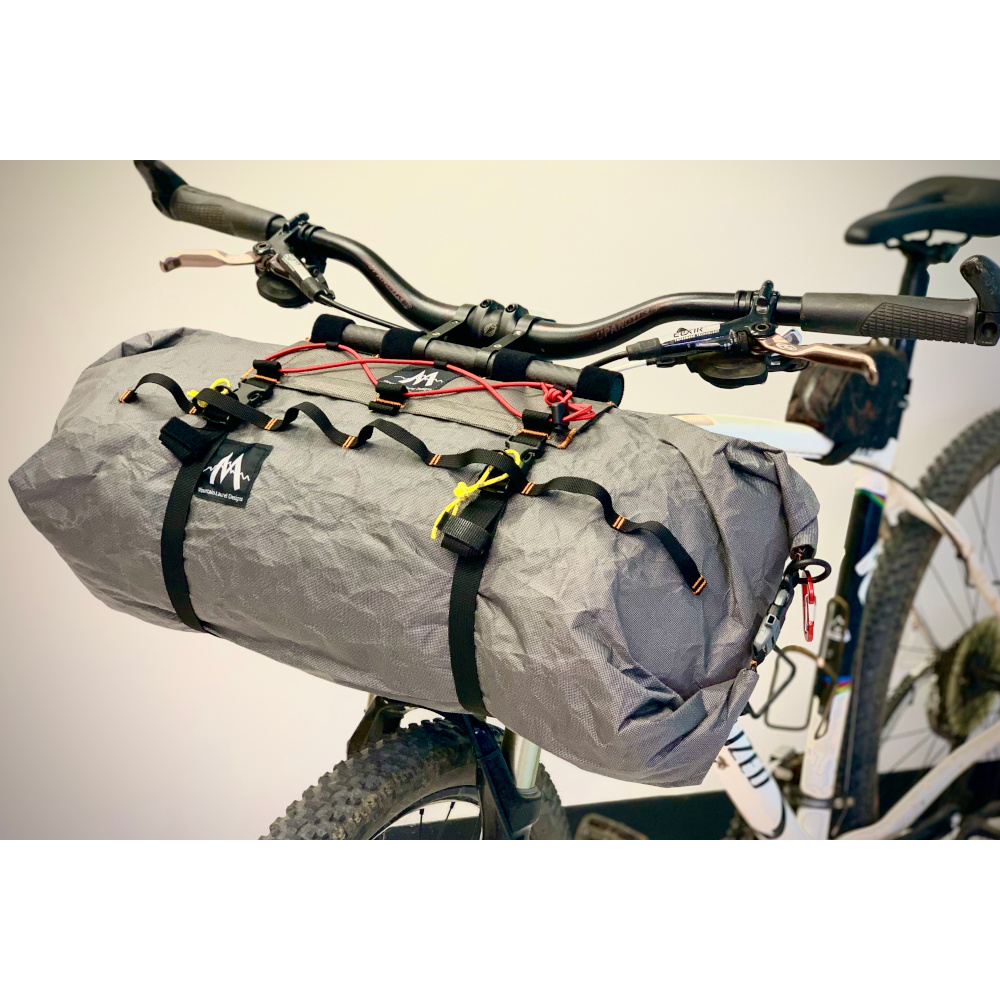
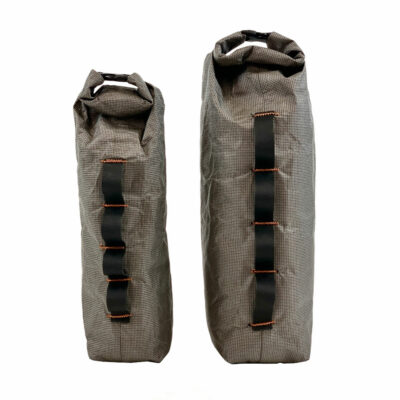
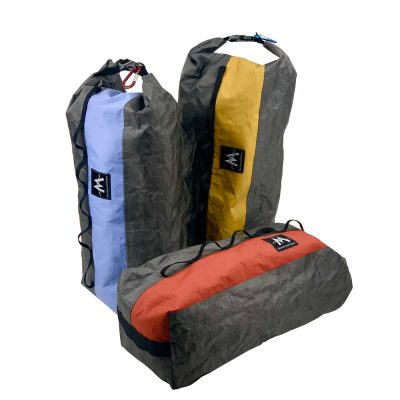
The MLD Border Handlebar Harness system is a simple, strong, and lightweight dual-clamp style handlebar harness built to hold all sizes of single and double-ended drybags, like our Ultra X Handlebar Double End Dry Bags and Ultra Bike Drybags. (BAGS SOLD SEPERATE) This dual clamp style harness provides more stability vs. foam spacers, has better clearance and cable protection and allows for better hand positions near the stem.
*** Strapping your dry bag or gear into a soft smooth Border Harness prevents any abrasion spots that will always occur if straping directly to an exposed bar only style system or directly to the bike handlebar.
Handlebar Harness Features:
• Ultralight and Tough Ultra X 200 UHMWPE fabric.
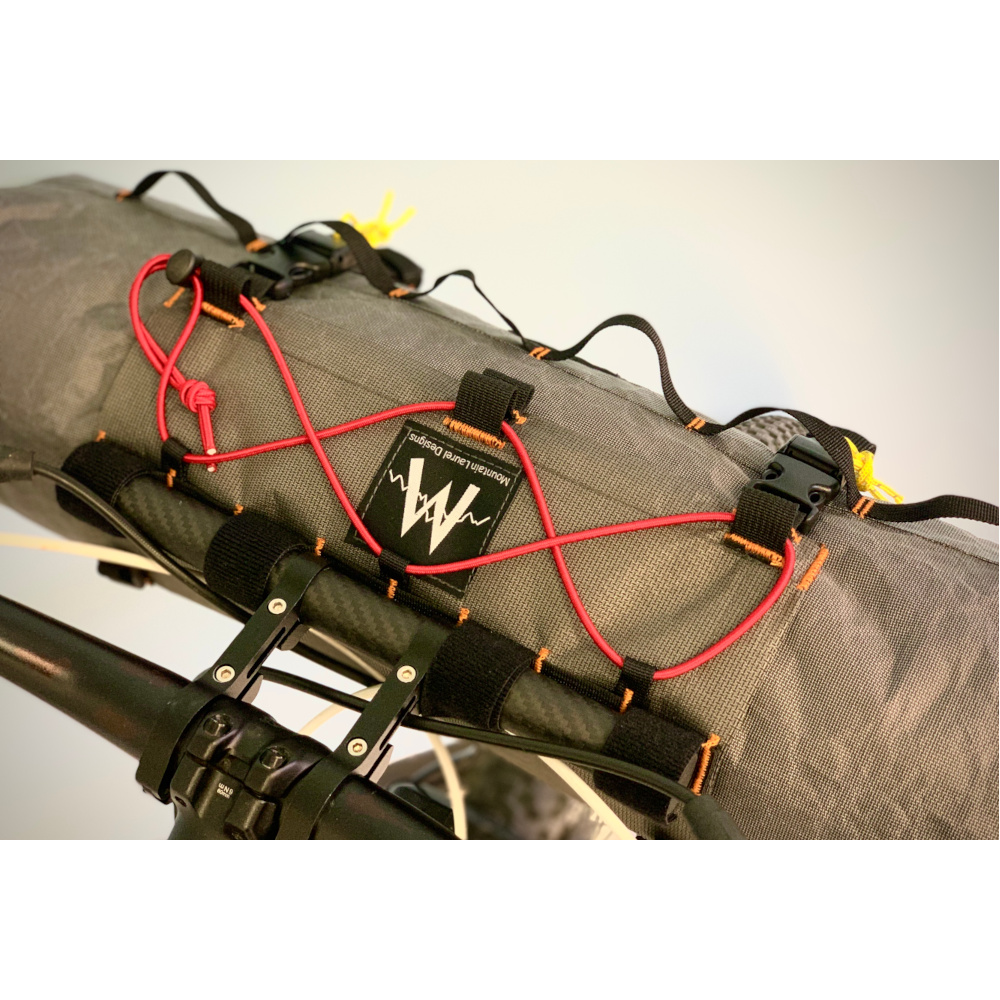
• Internal carbon fiber wands on top and bottom edges for stability.
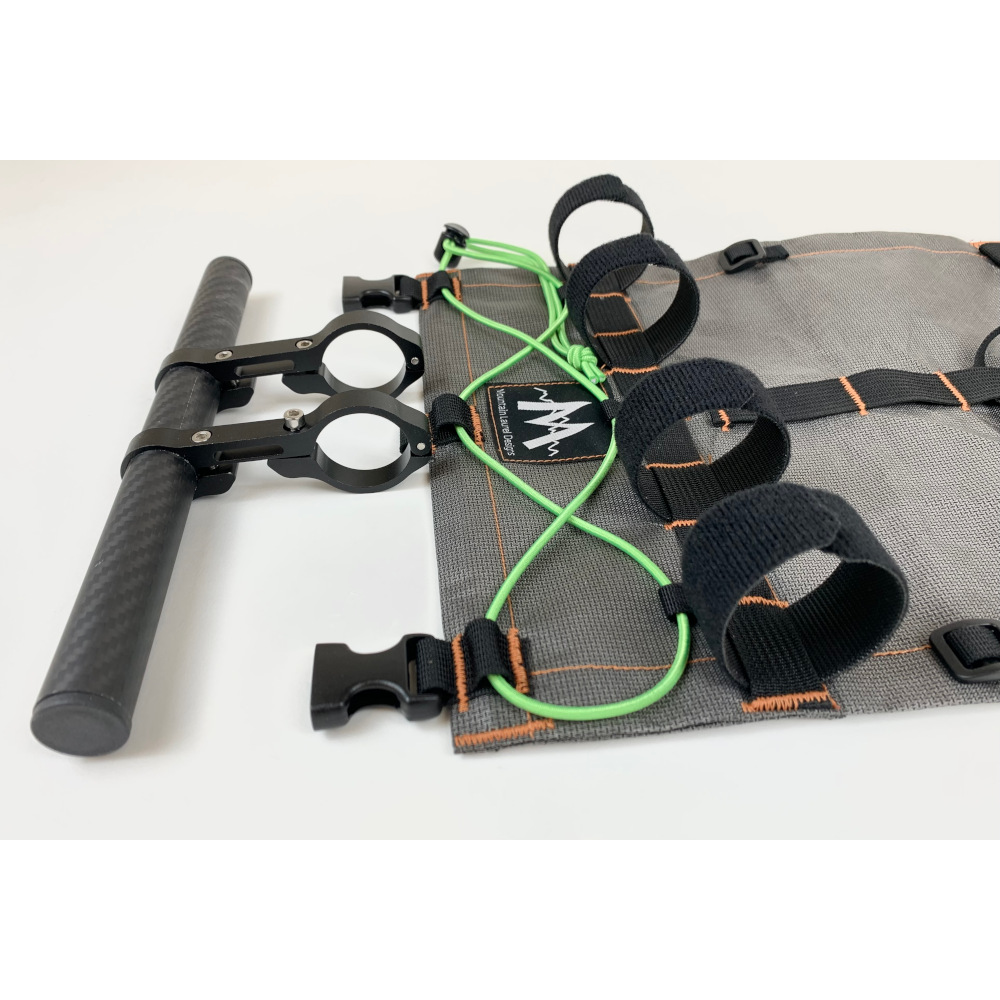
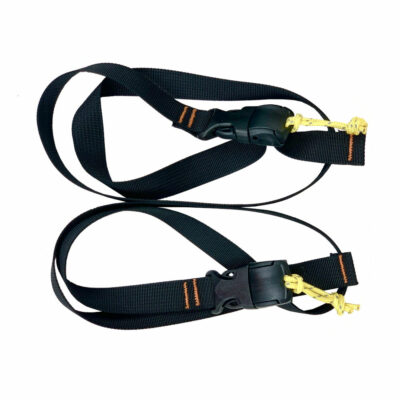
• Multiple strap locations on the daisy chain to Velcro to the carbon fiber tube.
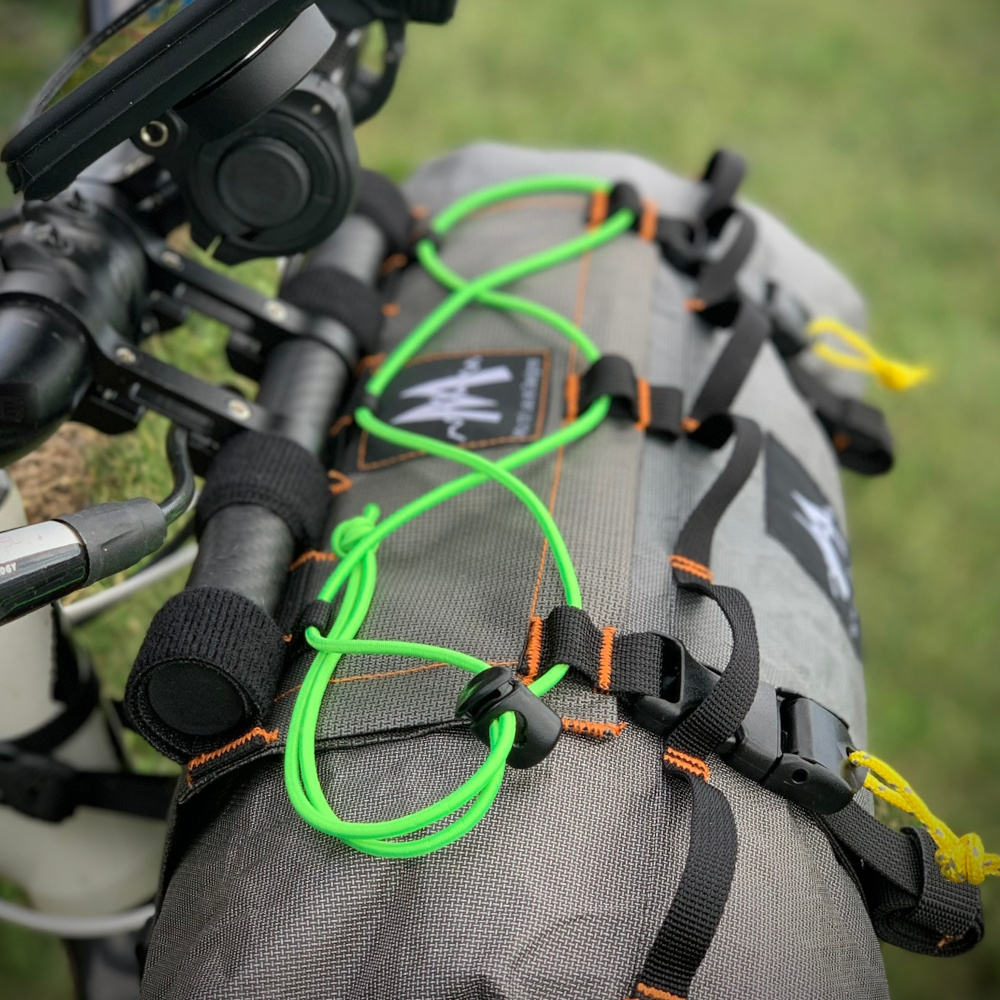
• 3” X 10” Bungee Cord Top Lash Deck. Attach rain jacket, tent pole bag, mini tripod, etc.
• Three 10mm Triglides for attaching accessories.
• Large Secure Full Rectangle Deck Wrap Face 10”X12”.
Clamp and CF Tube Features:
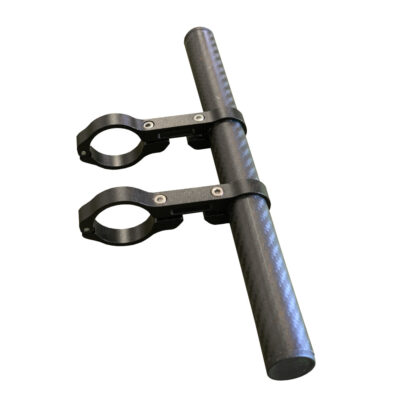
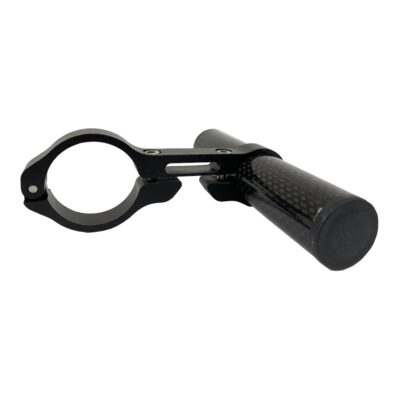
• Roll-wrapped Hi Modulus CF tube. 10” wide X 22mm OD. Wider than generic 8” DYI clamp tubes.
• 10.5mm wide clamps – 35% wider than generic DYI clamps.
• Stainless Steel Screws and oversize SS hinge pin.
• 4” clamp overall length.
• 2” space between harness and handlebars for hand positions, inboard bar ends, aero bar fit space, etc.
• Fits 31.8mm and smaller handlebars. Size reduction spacers are included. 31.8 mm is the most common bar size for Gravel, Adventure, Fat, and MTB bikes currently being used for bikepacking. Uses 3mm SS Screws; extra 3mm screws and lock nuts are included.
NOTE FOR CARBON FIBER BARS
We recommend using Carbon Fiber Clamp Paste, the same as you would for installing a carbon fiber seat post. Position the clamps as close to the stem as possible, as that area is the strongest on CF handlebars. Any damage or scratches to handlebars is not warranted. We do not recommend use with Ultralight racing, CF road, time trial, and non-circular-shaped bars.
WEIGHT LIMITS
Most use a front harness for a tent, sleep system, or similar gear weighing under 10 lbs / 5kg. The clamps VERY strong are far stronger than the clamping pressue on any handlebar. The functional weight limit is how much weight your can handle on the front of your bike safely.
If you plan on strapping heavy water loads or large pack rafts to the system, you may use a second set of clamps (4 total) on an aluminum or steel handlebar to double the weight limit at your own steering risk; you may be better off using a lighter handlebar load in conjunction with lower front and/or rear panniers to improve bike handling vs. overloading the harness system on the bike’s front end.

JD Svoboda (verified owner) –
Just received this- looks to be a very nice design and very fairly priced too! I have a DIY handlebar setup with a thin HDPE sheet and several velcro straps that this will retire. Will be going to Queen’s Ransome shortly. I have no doubt it will prove bomber.
AndrewC (verified owner) –
Just used this for an attempt at finishing the Huracan 300 in Florida. The Harness system held up better than I did (hamstring issue at mile 140). Getting your drybag secured to the harness is a little tricky initially but simple once you get the hang of it. Harness held up well on mixed terrain including single-track. This rides lower than some similar systems which improves handling. I did not experience any slippage of the mounting hardware. If you’re running front suspension, be careful when you set it up to ensure that the harness isn’t rubbing when your fork compresses. I burnt a small hole in the harness but attribute that to user error. Fixed with a small piece of gorilla tape. Overall, very satisfied with its performance.