Sealing + Repair
WEIGHT: 2 oz | 57 gm
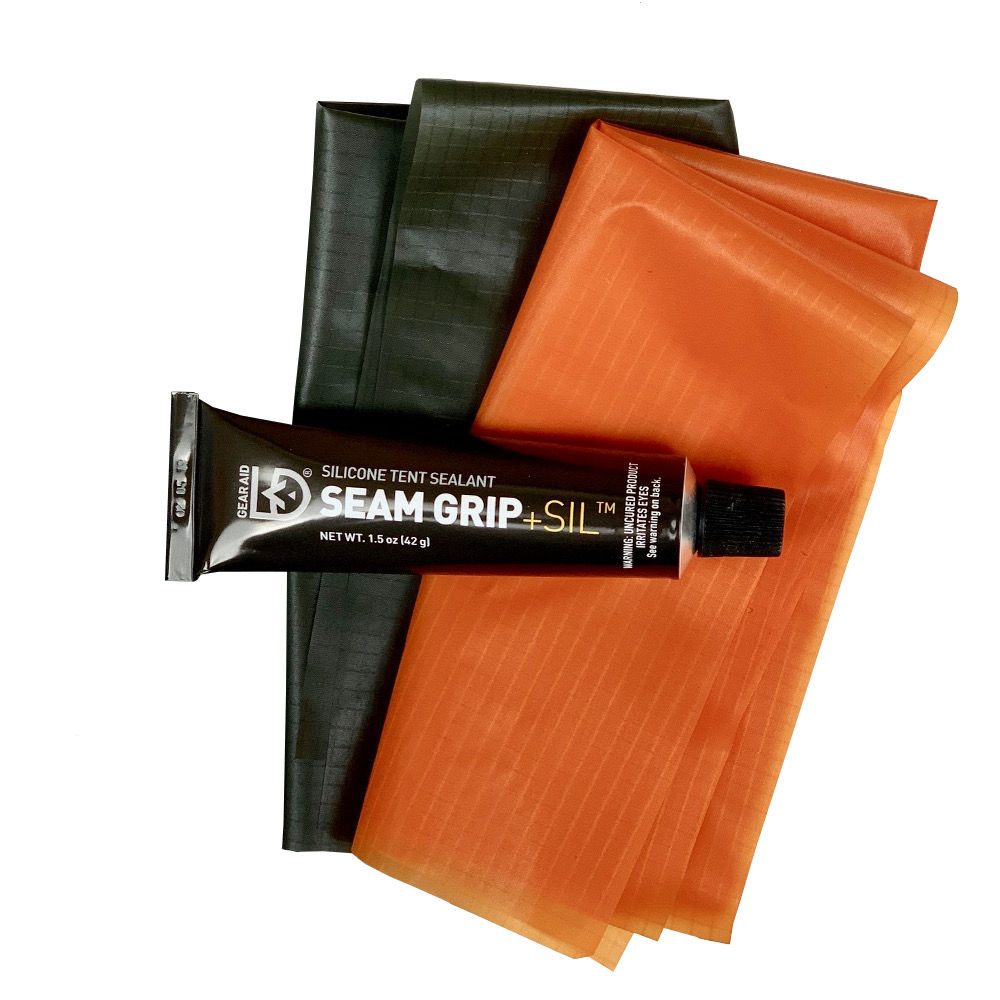
Our SilNylon Sealing + Repair Kit can be used to seam seal and repair all silicone coated fabrics, and works perfect on all MLD Pro 20D + 30D SilNylon Shelters.
Seam Grip SIL is the best way to keep moisture out when using a SilNylon (silicone-nylon) shelter. This clear sealant dries to a flexible rubber that works on all silicone treated gear, including nylon tarps, tents, backpacks, and more. A single 1.5 oz tube can seal up to 24 ft of seams, rips or tears. Seam Grip SIL is compatible with all silicone-treated fabrics and is waterproof, weather-resistant, flexible, and long-lasting, making it perfect for seam sealing your shelter, or making repairs that last.
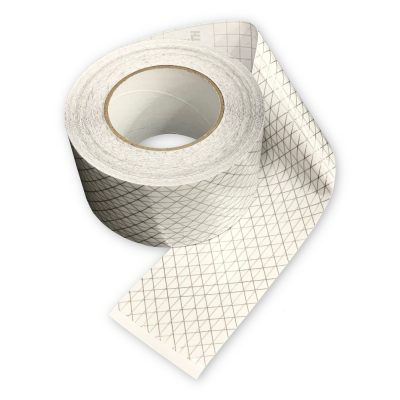
This kit includes 1 square foot each of Citrus Orange and OD Green SilNylon to create repair patches that match your gear.
INCLUDED
• 1.5 oz | 42 gm Tube Gear Aid Seam Grip + SIL
• 1 sq/ft | 0.1 sq/m of 30D Pro SilNylon in Each Color: Citrus Orange, OD Green
RIP REPAIRING TIPS
TINY HOLES & MICRO TEARS
1: Clean the area with rubbing alcohol.
2: No patch needed; apply seam sealer on inside and outside of tear/hole.
3: Let dry 48 hours.
SMALL PUNCTURES & TEARS UNDER 2″ | 5 CM
1: Clean the area with rubbing alcohol.
2: Cut patch material 1″| 2.5 cm wider than the hole or tear. Round all corners.
3: Use Seam Sealer straight from the tube to coat the patch.
4: Patch the hole and let dry 48 hours.
MEDIUM TEARS & L-SHAPED TEARS OVER 2″ | 5 CM
1: Clean the area with rubbing alcohol.
2: Cut patch material 2″/ 2cm wider than hole or tear (cut TWO patches the same size.) Round all corners.
3: Use Seam Sealer straight from the tube to coat the patch for the inside.
4: Patch the hole and let dry 24 hours.
5: Patch the outside of the tear with the matching patch and let dry 48 hours.
LARGE HOLES & TEARS OVER 5″ | 12 CM
At this level of damage, sewing may be necessary.
1: Clean the area with rubbing alcohol.
2: Cut patch material 3″/ 7cm wider than hole or tear (cut TWO patches the same size.) Round all corners.
3: Use Seam Sealer straight from the tube to coat the patch for the inside.
4: Patch the hole and let dry 24 hours.
5: Sew that inside patch around the edges, adding a few crisscrosses.
6: Patch the outside of the tear with the matching patch and let dry 48 hours.
SEAM SEALING YOUR SHELTER
1: Pitch and inspect your shelter for any issues. Once it is seam sealed, it is non-returnable except for significant defects.
2: Use the supplied Gear Aid Sealer + SIL. (If you want to dilute it or use some other silicone sealant, it should work OK and is common (research this yourself online) but, you are on your own – results may vary and are not covered by warranty! If you go this route, it is assumed you know 100% what you are doing and have done it before!!!)
3: Pitch the shelter tightly. Temperatures should be above 60 F and humidity below 80%. You may do this indoors. You may also do one seam at a time indoors if the seam is stretched slightly. Pinning one seam from each end on the floor between two heavy objects works OK.
4: OK to use the Gear Aid Sealer + SIL straight from the tube. Do not make a big hole in the sealer tube – start small so that you can control flow. Multiple small applications is a lot better than one big smear.
5: Main Seams: Place a small bead on the seam along the stitching. Work on a 3’- 4’ section at a time. Use a finger to press the sealer into the stitching and the small valley at the edge of the seam where it is rolled under.
ALLOW AT LEAST 24 HOURS TO FULLY DRY.
NOTE: You only need to seal the OUTSIDE of the shelter. You do not need to seal the bottom perimeter roller edge stitching. It is OK to add a small bead on the leading edge of the triangle tie-outs reinforcement stitching, but it is not required.
SPECIAL AREAS: Add a little sealer to any tie-out stitching on the middle of a panel (Mids, Cricket, and SuperTarps). Seal the zipper storm flap stitching and tie-outs on the Mids. Seal the stitching and apex tie-outs areas on the Mids, Crickets, and TrailStars.
IMPORTANT: Do no go back and forth over the wet seam too much – after a minute or three, it will get gummy and look bad; it is better to wait for 8 hrs and then add some over any area you missed.

Reviews
There are no reviews yet.